So, I really like the idea of unique and/or one-off clothing. One of the easiest ways to do that is to paint a design on a shirt. I don’t really have steady hands, so actually hand drawing something tends to be a problem for me, so I much prefer to create something on a computer and create a stencil from it. Then use the stencil to get the exact design idea I have down on the clothes.
I thought some folks might benefit from a little tutorial about the process I use. So as is my medium of choice, I created a video. And from said video I present the process laid out as a blog post with fun gifs!!! Yay!
So first, get the following supplies together:
- Shirt to Paint on (Thrift store!!!)
- Acrylic Paint
- Textile Medium
- Paint Brush
- X-acto Knife
- Cutting Mat
Then, find a stencil you like. You can literally make a stencil out of anything and I’m not going to go into much detail here (watch the video), but you can obviously search google images for stencils if nothing else. But also, tattoo designs, illustrations, graffiti, all make great stencil ideas. Also, you can check out my stencil pin board for inspiration.
Once you find your stencil, you gotta print that sucka!
Then use an X-acto blade to cut the stencil out. Follow the lines. Preferably on a cutting mat and not directly on the kitchen table, ya know?
Once you’ve got your stencil made, it is time to mix the paint and textile medium. Mix the paint to achieve the color you are going for. Then, follow the directions on the medium to mix it with the paint. Generally, it is 2 parts Paint to 1 part Textile medium. After I mix the paint, I tend to eyeball the amount of paint I have on the palette (or paper plate) and then just add half as much Textile medium.
Then get your shirt ready to be painted upon. Figure out exactly on your shirt the design is going to look the best. I recommend over your heart because I love you, but you can do what you want.
It is also good to place something (like paper) directly under the fabric that is getting painted on. That way you aren’t accidentally bleeding onto the back of the shirt or onto your work surface.
Also, generally, your stencil will likely be the opposite of mine. Instead of cutting it out and using the cut outs as guides, you will cut out the design and use the whole paper as the stencil and the cut out is where the paint will go. Because of this, I highly recommend taping the stencil down onto your fabric to help minimize the amount of movement that happens.
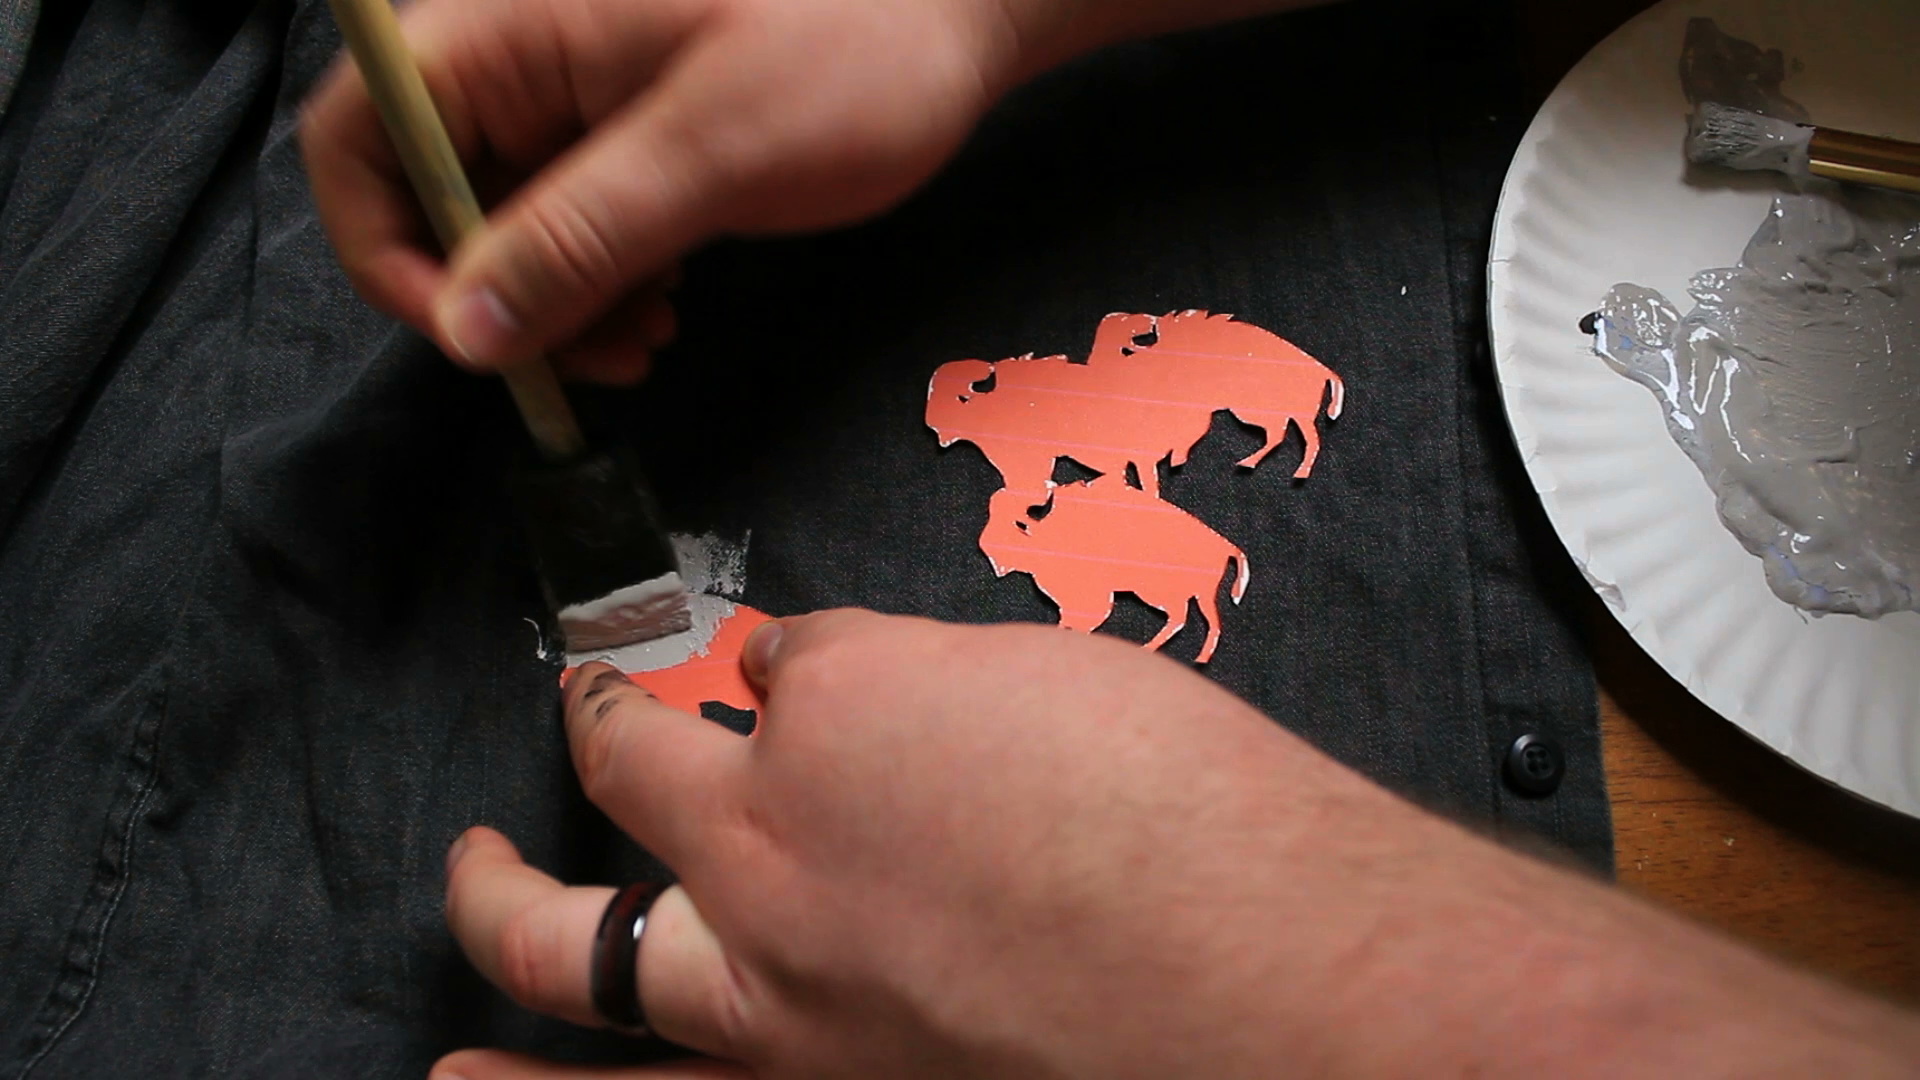
Now paint that bad boy! I have two ways that I will suggest painting. One is to dab straight up and down. The other is to paint from the paper, toward the edges. Both of these ways are to help avoid lifting the edges up and getting paint underneath. We need those edges to stay right there in order to give us a clearly defined design.
Also, I would recommend going over a specific part of the edge only once if you can help it. Because that first time will be the cleanest. If you have to go over again, the stencil or the shirt could have moved and the edge will end up being soft. Sometimes you may feel like you didn’t get enough paint on a particular spot. Just be careful if/when you go over it again. Try to make sure the stencil is still lined up.
Once you have everything covered in paint. I let things rest for a few minutes, then I peel up the stencil. This the moment of truth and the most satisfying part. If you have a standard stencil, you can just lift up one of the corners and carefully peel it off. If you have the inverse stencil like I have, you will want to carefully put your blade under and slowly peel it up.
Either way, I try not to let the paint dry with the stencil on. I like it to be at least a little bit wet. If it is completely dry, when you go to lift it up, it might take some of the paint from the shirt with it. After the stencil is up and off. Let it dry.
Optionally, after it dries, you can use an iron to help set the medium into the fabric even more. Put a piece of parchment paper between the iron and the paint.
And that’s it!!! You have an sweet new shirt. Go show your friends how slick you are. Let me know in the comments if you liked this tutorial or if you have any suggestions.
This post originally appeared on my portfolio site, peteyboy.com.